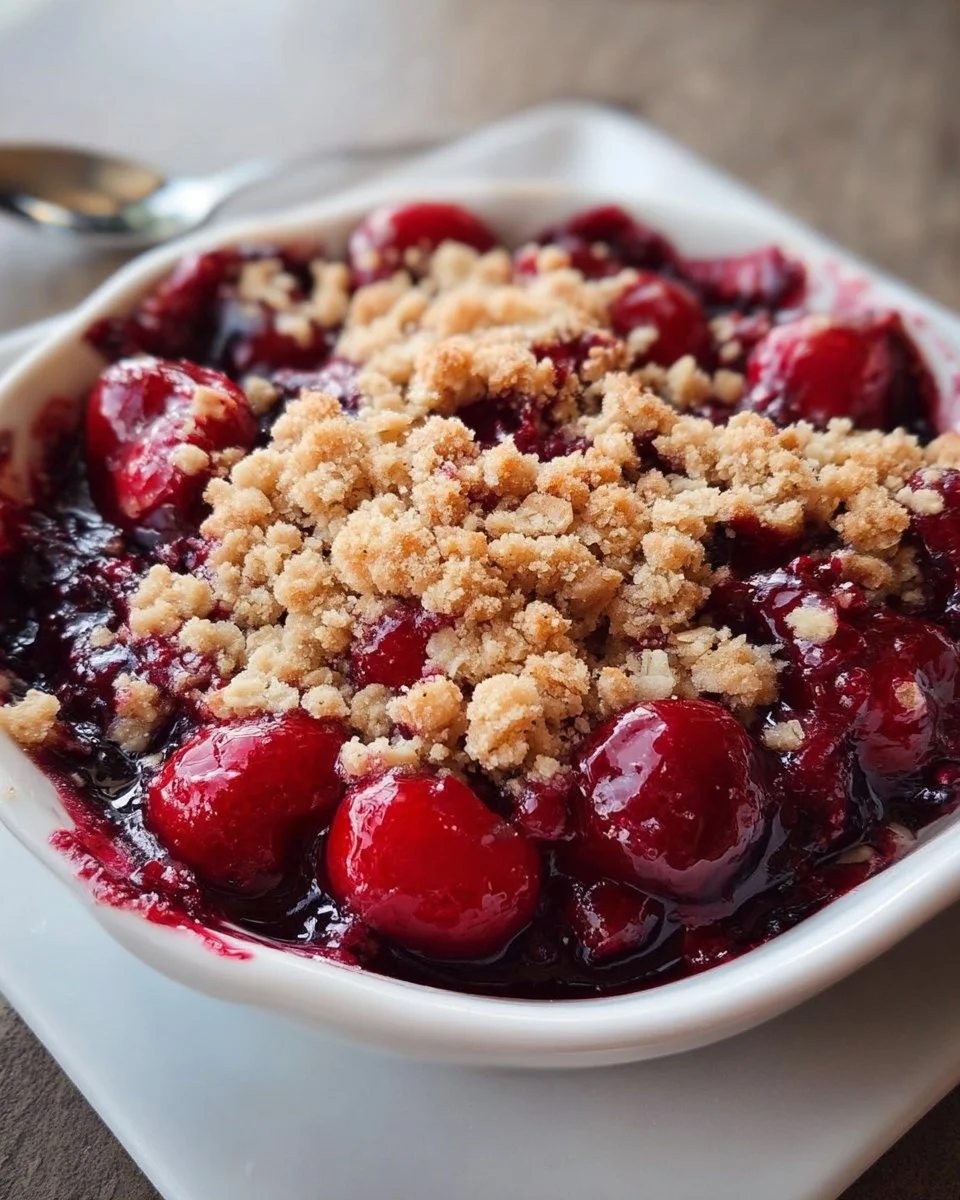
Sinking your spoon into a warm, bubbling cherry crumble is an experience that ignites all the senses. Each scoop reveals rich, glistening cherries kissed with just the right amount of sweetness, their juices bubbling up like a treasure waiting to be discovered. The aroma wafts through the air, sweet and inviting, evoking memories of sun-drenched orchards and cozy kitchen gatherings. It’s the perfect balance of tart and sweet, a heavenly marriage that dances on your taste buds from the very first bite.
As you take that first forkful, the satisfying crunch of the crumble topping meets the lusciousness of the cherries. Flavors awaken in a delightful harmony, with the warmth of cinnamon intermingling with the fresh burst of fruit. The topping, an irresistible blend of buttery goodness and hearty oats, adds a delightful texture that complements the silky cherries below. Each bite offers a homey comfort, reminding you of loving scribbles in recipe books handed down through generations. There’s something timeless about a cherry crumble; it doesn’t just fill your stomach— it nourishes your soul.
Why You’ll Love This Easy Homemade Cherry Crumble
This easy homemade cherry crumble captivates the heart of every dessert lover. Crafted with simple ingredients, this recipe embraces the natural flavors of cherries, transforming them into a sweet masterpiece that shines at any gathering. Whether you whip it up for a weeknight dessert, a summer picnic, or a special celebration with friends and family, this crumble becomes a centerpiece that draws everyone in. The inviting aroma and vibrant colors catch the eye, while the first taste leaves you longing for more.
You’ll absolutely adore the versatility of this dish. Enjoy it warm, just out of the oven, with a generous scoop of vanilla ice cream melting into those warm cherries, or delight in it served as a chilled treat on a hot summer’s day. The balance of textures—the creamy, cold ice cream against the warm, crunchy topping—will make every bite an exquisite pleasure. Plus, making this crumble doesn’t require any intricate techniques. Just fresh fruit, a handful of pantry staples, and a sprinkling of love create a dessert that dazzles.
Preparation Phase & Tools to Use
To embark on this delicious journey, gather a few essential kitchen tools. Having the right equipment makes all the difference and elevates your baking experience.
-
Mixing Bowls: A couple of mixing bowls will help you combine the ingredients for both the cherry filling and crumble topping thoroughly. Opt for bowls with a non-slip base to make mixing a breeze.
-
Baking Dish: Choose a medium-sized baking dish, preferably with a light interior. This will allow your crumble to brown evenly and showcase its beautiful golden crust.
-
Measuring Cups and Spoons: Precision is key; accurate measurements ensure the perfect balance of flavors. Use dry and liquid measuring cups for easy adherence to the recipe.
-
Pastry Cutter or Fork: This handy tool is perfect for cutting in your cold butter into the dry ingredients. Alternatively, a sturdy fork works just as well.
-
Spatula: A rubber spatula makes it easy to fold the ingredients, ensuring no cherry or crumb gets left behind.
Preparation is seamless—before you know it, you’re enveloped in the delicious aroma of your impending creation. Simply preheat your oven, and you are ready to indulge.
Ingredients for Easy Homemade Cherry Crumble
-
2 cups fresh or frozen cherries: Sweet or tart varieties work beautifully, but fresh cherries yield the best flavor. Frozen cherries can be used too—simply thaw them before mixing.
-
1/2 cup granulated sugar: This sugar draws out the cherries’ natural sweetness, creating a lovely syrup as they bake.
-
1 tablespoon lemon juice: Freshly squeezed lemon juice enhances the cherries’ flavor, balancing the sweetness and providing a refreshing zing.
-
1 cup rolled oats: These oats form the base of your crumble topping, offering a delightfully chewy texture with a touch of nuttiness.
-
1/2 cup all-purpose flour: Flour combines with oats to create a light yet crispy crumble. For a gluten-free variation, consider using almond flour or a gluten-free blend.
-
1/3 cup brown sugar: The molasses in brown sugar adds richness and a depth of flavor.
-
1/2 teaspoon cinnamon: This spice brings warmth and complexity to the topping, enhancing the overall experience.
-
1/4 cup cold butter: Keep your butter chilled to create a crumbly topping that adds an irresistible crunch.
All the ingredients come together, allowing you to create a dessert bursting with flavors and textures. Each element plays a part in creating a memorable, heartwarming treat.
How to Make Easy Homemade Cherry Crumble
-
Preheat the oven to 350°F (175°C). This initial step ensures your crumble bakes evenly from the moment it enters the oven.
-
Prepare the cherries: In a mixing bowl, combine the cherries with granulated sugar and lemon juice. Stir gently until the cherries are well-coated. Spread this irresistible mixture in a greased baking dish, ensuring an even layer for uninterrupted cooking.
-
Create the crumble topping: In another bowl, mix the rolled oats, flour, brown sugar, and cinnamon. Using a pastry cutter (or a fork), cut in the cold butter until the mixture resembles coarse crumbs. Don’t be afraid to get your hands in there! It’s a great way to feel the texture and get the butter evenly distributed.
-
Assemble the crumble: Sprinkle the oat topping generously over the cherry mixture. Make sure to cover every inch—it’s the protective layer that turns your cherry filling into a fabulous, crunchy dessert.
-
Bake: Place the baking dish in the preheated oven and bake for about 30-35 minutes, or until the topping is golden brown and the cherries are bubbly. The tantalizing aroma will fill your kitchen, stirring excitement for what’s to come.
-
Cool slightly before serving: Allow your cherry crumble to rest for about 10 minutes after pulling it from the oven. This brief pause helps the flavors meld while the topping firm up just a bit, making each serving easier to scoop.
Chef’s Notes & Helpful Tips
-
Make-ahead tips: Prepare the cherry filling a day in advance and store it in the refrigerator. You can also make the crumble topping and keep it in an airtight container until you’re ready to bake, saving time and hassle.
-
Cooking alternatives: If you’re up for experimenting, consider using an air fryer! Just follow the same instructions but reduce the temperature to 320°F (160°C) and keep an eye on the cooking time—approximately 20–25 minutes should suffice.
-
Customization ideas: Feel free to play with the flavors! Add a splash of vanilla extract for extra warmth or sprinkle in some chopped nuts for added crunch. Dried fruits, like cranberries, can also work wonders alongside the cherries, creating a new twist on the classic.
Common Mistakes to Avoid
-
Overmixing the crumble topping: This can lead to a tough texture rather than the light, crunchy topping you desire. Mix just until the butter is incorporated—leave those little chunks for that perfect crumbly bite.
-
Not allowing the crumble to cool before serving: Diving into a piping hot crumble can lead to burnt tongues and a soupy mess. Allow it to rest slightly so that the juices thicken.
-
Using too much sugar: Depending on the sweetness of your cherries, adjust sugar levels to prevent overwhelming the natural tartness. Taste-test as you go—baking should be an enjoyable experience!
What to Serve With Easy Homemade Cherry Crumble
Create an exquisite dessert experience by pairing your cherry crumble with these delicious options:
-
Vanilla Ice Cream: The creamy, cold ice cream melty against the warm crumble creates a divine contrast, elevating each bite.
-
Whipped Cream: Light and airy whipped cream adds a touch of elegance—perfect for dolloping on top.
-
Greek Yogurt: For a healthier option, serve your crumble with a spoonful of tangy Greek yogurt. Its richness balances the sweetness beautifully.
-
Custard Sauce: Pouring warm custard over your dish enhances the indulgence, creating a luxurious experience.
-
Caramel Sauce: Drizzle caramel over the crumble for an extra layer of sweetness—it’s a simple yet spectacular way to upgrade this classic.
-
Fresh Mint: Garnish with fresh mint for a pop of color and a refreshing herbal note.
Storage & Reheating Instructions
Store any leftover cherry crumble in an airtight container in the refrigerator for up to three days. The delightful flavors will develop even further as they meld overnight. For longer storage, you can freeze the crumble. Wrap individual portions tightly in plastic wrap and place them in the freezer. This way, you can enjoy a piece whenever a craving strikes!
When you’re ready to enjoy, simply reheat in the oven at 350°F (175°C) for about 10-15 minutes until warmed through. If reheating from frozen, let it thaw in the refrigerator overnight before heating, allowing time for the flavors to regain their glory.
Estimated Nutrition Information
While the exact nutritional values may vary, this recipe yields approximately:
- Calories: 300 per serving
- Carbohydrates: 45g
- Protein: 3g
- Fat: 12g
- Sugar: 15g
These values are estimates. It’s always a good idea to utilize specific nutritional calculations based on your exact ingredients.
FAQs
Can I use other fruits for this crumble?
Absolutely! While cherries shine here, you can swap in berries, peaches, or apples. Adjust the sugar accordingly based on the fruit’s natural sweetness.
What if I don’t have fresh cherries?
Frozen cherries make a fine substitute. Allow them to thaw and drain any excess liquid before mixing with sugar and lemon juice.
Can I make this recipe vegan?
Yes! Substitute the butter with coconut oil or vegan buttery sticks to create a plant-based version of the crumble while keeping the flavors intact.
How do I know when the crumble is done baking?
Look for a golden-brown topping and bubbling juices around the edges. A quick poke can indicate readiness; if you see juices boiling, it’s time to pull it out!
Can I make a smaller portion?
Certainly! This recipe is easily halved. Just tweak your baking dish size accordingly and keep an eye on baking time.
Conclusion
This easy homemade cherry crumble invites you into the comforting embrace of sweet nostalgia and delicious flavor. Simple to make yet undeniably special, it promises to be the highlight of your dessert table, drawing friends and family together for unforgettable moments. You’ll create a dish that not only satiates cravings but also warms hearts. So gather your ingredients, preheat that oven, and let the cherry crumble adventure begin—your taste buds are about to embark on a magical journey! Try the recipe today; the joy of cherry crumble awaits!
Print
Easy Homemade Cherry Crumble
- Prep Time: 15 minutes
- Cook Time: 35 minutes
- Total Time: 50 minutes
- Yield: 4 servings 1x
- Category: Dessert
- Method: Baking
- Cuisine: American
- Diet: Vegetarian
Description
A warm, bubbling cherry crumble recipe that balances tart and sweet flavors, perfect for any gathering.
Ingredients
- 2 cups fresh or frozen cherries
- 1/2 cup granulated sugar
- 1 tablespoon lemon juice
- 1 cup rolled oats
- 1/2 cup all-purpose flour
- 1/3 cup brown sugar
- 1/2 teaspoon cinnamon
- 1/4 cup cold butter
Instructions
- Preheat the oven to 350°F (175°C).
- Combine the cherries with granulated sugar and lemon juice in a mixing bowl, then spread in a greased baking dish.
- Mix the rolled oats, flour, brown sugar, and cinnamon in another bowl. Cut in the cold butter until the mixture resembles coarse crumbs.
- Sprinkle the oat topping over the cherry mixture.
- Bake for about 30-35 minutes, or until the topping is golden brown and cherries are bubbling.
- Cool slightly before serving.
Notes
Serve warm with vanilla ice cream or whipped cream. Can be made in advance and stored in the refrigerator.
Nutrition
- Serving Size: 1 serving
- Calories: 300
- Sugar: 15g
- Sodium: 200mg
- Fat: 12g
- Saturated Fat: 4g
- Unsaturated Fat: 6g
- Trans Fat: 0g
- Carbohydrates: 45g
- Fiber: 3g
- Protein: 3g
- Cholesterol: 30mg